Overhead line inspection
Purpose
In order to maintain the normal operating parameters of the overhead line of electrified railways, they must be constantly monitored using special diagnostic tools. Based on the experience of world manufacturers of similar facilities, TVEMA has created a number of systems for diagnosing the parameters of the overhead line, capable of monitoring at the speed range from 0 to 360 km/h.
Systems for measuring the parameters of the overhead line
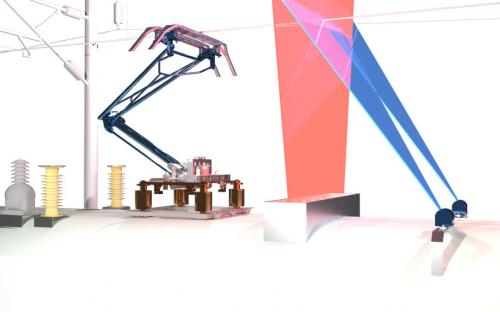
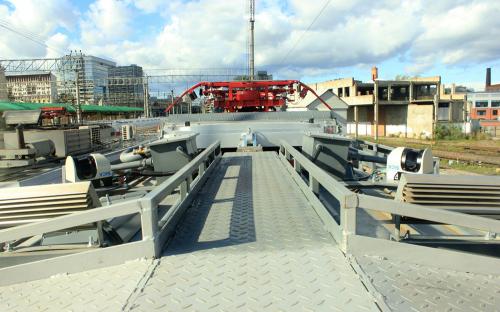
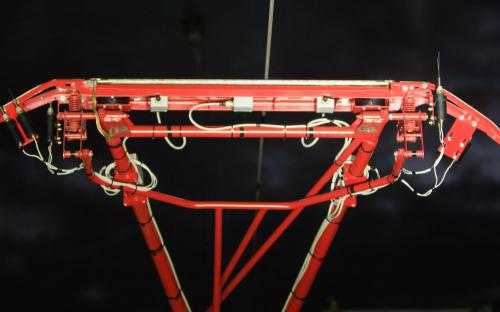
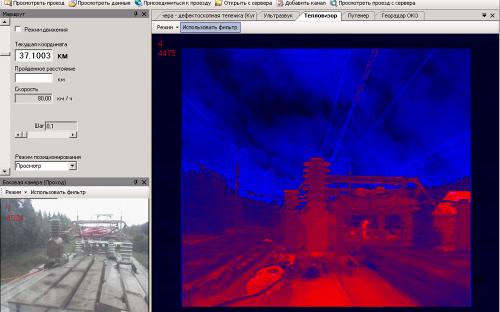
One of the most effective devices of this type is a complex of automated monitoring of the parameters of the overhead line. It is placed in a diagnostic car, on the roof of which (above the axis of the car bogie) a measuring current collector and an observation tower with measuring equipment are installed. In addition to determination of the type and voltage magnitude of the overhead line, special devices of the complex measure and record limit-exceeding deviations of the parameters of all its facilities and on the basis of this data automatically calculate a scoring of its technical condition at the inspected track section. Design of the observation tower provides an overview of the control and measurement systems of video inspection, thermal monitoring and UV diagnostics, installed on the tower.
High-speed overhead line control systems
High-speed control system of the overhead line is one of the latest developments of the company. All the measurements of the overhead line and pantograph are performed by sensors using noncontact method, and the recorded signals are processed by the information and computer system of the complex.
Parameters of the overhead line are measured in height above the level of the rail top and line position (zigzag and offset) in the section, with the number of wires from one to eight. Simultaneously, the equipment monitors lowering of the aerial frogs and the height of the locks relative to the line, measures the pulling force of the pantograph on the overhead line and records its impacts on pantograph, pressing the overhead line and detaching it from it.
The processed measurement results, including recorded deviations from the standard line parameters, are displayed in real time in the form of charts on the computer monitor of the operator's workstation and are archived on the hard disk or removable media. Results of thermal diagnostics, as well as UV camera data are recorded into separate files. In this, all data are linked to the readings of the sensor of speed and the traveled distance, as well as to the registration points of the overhead line. It is possible to print the charts.
Advantages
- Absence of moving parts inside the measuring system. All components operate in a static position. This makes it possible to achieve accuracy and eliminates the need for frequent system calibrations.
- Absence of the sun influence, which makes it possible to perform measurements even in daylight.
- Frequency of parameter registration. The system is capable of making up to 5000 measurements per second, which makes it possible to detect wear.
- Absence of parts located in close proximity to high-voltage components. This increases the system security.
- The service life of laser systems is much greater than that of conventional lamp systems.
Scope of application
The network of railways of the Russian Federation.


